Sunday, June 3, 2012

Nothing says summer like a fresh fruit pie!

I decided to escape town for the Memorial Day holiday last weekend.  I didn't go anywhere exciting, just home for a nice relaxing weekend.  While there I grabbed some fresh rhubarb from my dad's garden.  Rhubarb is an interesting vegetable because usually it is treated more like a fruit than a vegetable.  It's very tart, so it's often paired with fruits especially strawberries.

After church today, we are having a potluck and I thought what better way to make use of the rhubarb than to bake a couple of strawberry rhubarb pies.  The recipe is from a friend of the family and I've tweaked it a little bit.  I will admit that I was feeling lazy and tired, so the bottom crusts are store bought, but the pies still look amazing.

The recipe calls for about 3 cups of chopped rhubarb, some sugar and some strawberry jello.  I've also added some fresh strawberries and a little cornstarch to help thicken it up.  You mix all of the filling goodness together and then put it in a pie shell.  

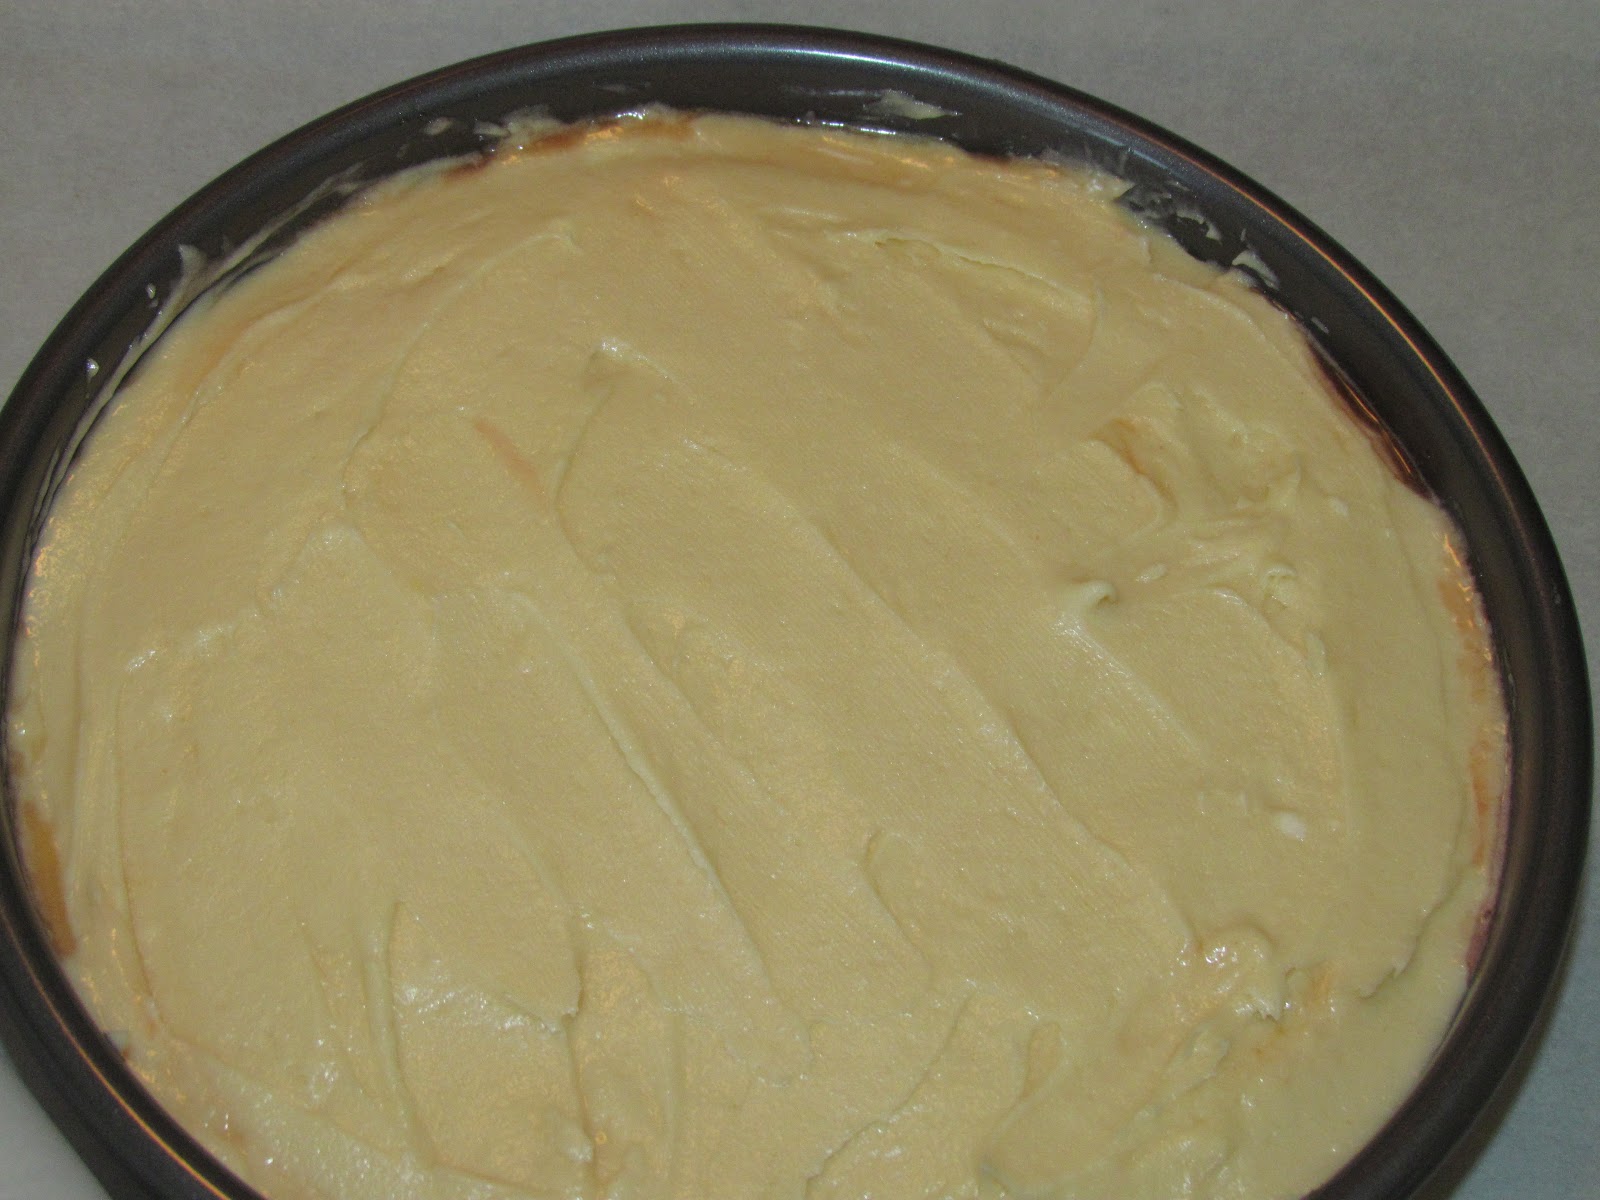
This recipes calls for a crumb top crust.  The top crust is a stick of butter, a cup of flour, and a cup of sugar.  I think next time I would only use a 1/2 cup of the sugar and flour.  You cut the butter into the flour and sugar and then cover the pie.

I placed the pies on a lined cookie sheet just in case the juices overflowed, which they did.  I baked the pies for about 10 mins at 400 and then lowered the temperature to 350 and let the pies go another 40-50 mins or until the top crust in golden brown.
I super excited to cut into this beautiful pie.  I tasted a bit of the overflowed juices and it's super yummy.  The perfect balance of tartness from the rhubarb along with the sweetness from the strawberries.  Rhubarb is most often used in pies, cobblers, and jams, but I've also used it for a sauce/glaze for meat.  So if you've never really cooked with rhubarb you should try out this spring/early summer vegetable/fruit.  Enjoy the summer and Happy Cooking!!!

Monday, May 28, 2012

Michele + Pineapple Upside Down Cake = DISASTER!!!!

Wow!  It's been forever since I've blogged about anything.  Part of the reason is that I just haven't cooked very much in the past few months, but the other reason is that I started school at the beginning of May and my time has been greatly consumed with studying throughout the past month.  


Thanks to my friend, Miranda, I was given a chance to get in the kitchen and do a little cooking.  Miranda is a friend from my time in DC and she was recently married.  She asked me if I could make two round cakes for her open house in Utah.  I gladly agreed and thought that it would be a great opportunity to improve my skills.  When I asked Miranda what kind of cake she would like, she gave me some options, something with peanut butter or a pineapple upside down cake.  My thought was a single 9" round cake just isn't very nice.  You definitely need a second layer and I didn't really want to have to deal with that, so I went with the pineapple upside down.  How hard could it be?  Boy, was I wrong.  Now the problems I had could be totally related to my skills and not necessarily related to the difficulty of the cake itself, but I will say I don't think I'll be making any pineapple upside down cakes, or any upside down cakes for that matter, anytime soon. (Miranda is lucky I love her.)


I did some researching online and saw some interesting recipes for other types of upside down cakes, for example peach raspberry.  I decided to do one traditional pineapple upside down and a peach raspberry upside down.  As I was looking for a recipe to use, my cousin Anne, who is an AMAZING chef, suggested I try a recipe by Tyler Florence that she absolutely loves and has had great success with.  She did tell me that she made some adjustments to the recipe and suggested that I give it a test run.  Thank heavens she did or I really could have had a disaster on my hands.


The first time I attempted this cake (yes there were MULTIPLE attempts) I thought I was using a 9" round cake pan, but discovered that I was incorrect.  I followed Anne's adjustments and aside from the cake being a little undercooked in the center and the caramel overflowing the taste was really cooked.  Anne also told me she likes to make the cake portion by itself sometimes, so that was attempt number two.  This time I used a 10" round pan.  No success.  The cake completely sunk in the middle.  


Now I was at a loss.  With two weeks until the open house, I had no idea what I was going to do to not only get ONE cake to be edible and look pretty, but TWO. I started to get desperate.  I went a hunt for a 9 1/2" round pan, but the only thing I could find was a springform pan.  Someone suggested that maybe the altitude of Utah was part of the problem.


On attempt three, I decided to give it a try in the springform pan and this time to follow Tyler Florence's recipe exactly.  I also decided to add two tablespoons of cornstarch for each cup of flour to help with any altitude problems.  The night before the open house I made what I think was the most successful of all of my attempts.  There were no problems of overflowing or undercooking, but upon flipping the cake I did lose a portion to the plate at the bottom of the springform pan.  Aside from the small missing portion, the flavor was good and it was fairly pretty.


And then we have the day of the open house.....on attempt number 4, there was complete and utter disaster.  I used a regular 9" round pan and followed Tyler's recipe, but the cake batter TOTALLY overflowed.  Thankfully I had placed it on a parchment paper lined cookie sheet, but unfortunately I did lose half to three quarters of the batter to the parchment paper.  It went straight to the trash.


I was out of time.  The next two cakes had to come with me to the open house regardless of how they turned out.  As I was about to pour the batter for cake number 5, I got the idea to split the batter between the two cakes.  During the baking process, this seemed to have been a genius idea.  The cakes turned out ok, but they just weren't very pretty.  In fact, the peach raspberry was so lack luster in it's appearance that I dusted it with powdered sugar in an attempt to make it look more presentable.  The flavor apparently was great, but I was definitely not happy with the appearance. 


Here are some pictures of the process and the final two cakes.


This was not a confidence booster in the slightest.  I'm now completely terrified to start my cooking classes in the fall, especially since I start the semester off with a baking and pastry skills class!  Ahhhh!  Hopefully, whatever baking issues I'm having will go away before August 27th.  


Enjoy the summer and all of the wonderful produce that you'll be able to find.  Put it all to good use in the kitchen by making wonderful fresh tasty meals.  Hopefully more blogs to be coming soon and Happy Cooking!

Monday, March 19, 2012

Happy St. Patrick's Day!

To celebrate St. Patrick's Day this past Saturday, I attended a St. Patrick's Day party.  We were supposed to bring something green.  I didn't really feel like making something green, so I decided to make something from something green.  I made Key Lime Cupcakes with a Key Lime Curd for filling topped with whipped cream.  I'll admit I was lazy and I didn't make the cake from scratch.  I did tweak the box mix a little.  I added some lime zest and key lime juice to the batter.  

To make the key lime curd, I followed a basic lemon curd recipe, but switched out the lemon juice and lemon zest for key lime juice and lime zest.  The curd turned out really good.  It was a little thicker than I would have liked, but that could be do to the fact that I used flour instead of cornstarch because I didn't have any.  


Once the curd was chilled, I piped it into each cupcake.  I whipped up some heavy cream and piped it on top.  I garnished each cupcake with a key lime slice.  The end result was super tasty.  It's definitely a recipe and cupcake I would eat and make again.


Another post will be coming soon.  My weekend was filled with adventures in the kitchen.  On top of the cupcakes, I made lasagna, so pics and details about that are still to come.  Hope your St. Patrick's Day was loaded with yummy green food or some corned beef and cabbage.  Happy Cooking!


Monday, February 27, 2012

Family and Good Food

Food is a wonderful thing.  It's something that brings us together as friends and family.  Yesterday I gathered with my cousins for a nice family dinner.  The lasts two times we've done family dinner, they've done the cooking.  This time I figured since I was all settled in my home, I'd do the cooking.  I might have gotten a little ambitious with my meal because I didn't have much prep time between church and dinner time.  That is the reason there aren't any finished product pictures.  I did manage to snap some in progress photos, so you'll just have to imagine what the finished products looked like.  


The main course was a pork tenderloin that I seasoned with salt, pepper, shallots, garlic, fresh thyme, fresh rosemary, and fresh oregano.  I then wrapped the tenderloin in pancetta, which is similar to bacon, but not smoked.  All of the herbs on the tenderloin gave it a great flavor.  


I also made an apple compote that consisted of apple cider, orange zest, cinnamon and cloves.  I wish that I had take the time to thicken the sauce a little bit more, but the flavor of it went great with the pork.  


I made two side dishes to go with the pork: mashed potatoes (with some potatoes from my dad's garden) and some super tasty honey lemon glazed carrots.  I used baby carrots and cut off the tops.  I steamed the carrots in a little water with honey, lemon zest, a little butter and salt.  I brought them to a boil, with the pan slightly covered, and cooked them until I could pierce them with a fork.  Once they were fork tender, I removed the lid and continued to allow them to boil until all the liquid evaporated off and the carrots started to caramelize.  This was a simple and easy dish with great flavor. 


The meal was finished of with a FABULOUS dessert made by my cousin Brian's wife, Anne.  She made a trifle/parfait with Oreos, brownies, chocolate pudding and whipped cream.  Super yummy!!!  Anne is an AMAZING chef!  She's just started her own fantastic blog, check out her excellent recipes.  


More cooking to come!  Happy Cooking and Enjoy a meal your loved ones!

Monday, February 13, 2012

The Adventures in the Kitchen Continue.....

The adventures in the kitchen continue....I've officially moved to Utah and I'm all unpacked and settled.  What better way to start off this new experience in Utah than with an experience in the kitchen.  I have two cousins that also live here in Utah.  They had a family dinner planned for Sunday and I was invited to attend.  I offered to bring a dessert to contribute.  I wanted to do something new, but not too complicated.  It had been a long week and weekend of moving and unpacking, so I was pretty beat.  The request was for something with chocolate, so I decided to try something called a chocolate pot de crème.  A pot de crème is a loose French custard.  Traditionally, it is baked in the oven in a  water bath, but the recipe that I used didn't call for that.  The recipe was very simple.  It's basically like a chocolate pudding, but with a richer flavor.  You take sugar, cream, and semi-sweet chocolate and bring them to a boil.  


Then you add the hot cream and chocolate mixture slowly to some beaten egg yolks and a little vanilla extract.  Once that is all mixed together you pour it into ramekins, cover and chill for a few hours.  I chilled mine overnight and they were fine.  I decided to top it with a little unsweetened whipped cream and some semi-sweet chocolate shavings.


It was the perfect size dessert with a wonderful rich chocolatey flavoring.  I'd like to try it some time the traditional way with a hot water bath just to see if there is a difference in taste or texture.  The pots de crèmes seemed to be liked and enjoyed by all.  This was a nice way to start the new experiences here in Utah.  More to come!  Happy Cooking!  

Friday, February 3, 2012

Farewell Oregon, Hello Utah!

For the past seven months, I've been living in Oregon with my parents trying to figure out what I wanted to do next with my life.  I'm really excited for the next step in my life.  I've decided to go back to school to study Culinary Arts.  My mom wanted us to have a little farewell dinner party for some of our friends here, but there just wasn't enough time.  One of our friends from California was visiting this weekend, so I decided I would make us a nice dinner and that could serve as my farewell dinner.  


I wanted to do something kind of simple since most of my cooking tools were going to be packed.  I decided to give my new dutch oven a test run and make a pot roast.  I've done a pot roast before, many times in fact, but I usually do it in a crock pot.  I started out with sautéing some onions, fresh garlic, carrots, celery, and mushrooms in the pot with some olive oil.  I removed the vegetables and then browned the roast.  I placed the vegetables and roast back in the pot and then poured in some beef broth and a few sprigs of fresh rosemary and thyme.  With the cover on the pot, I placed it in a 300º oven for 3-4 hours until fork tender.  The key to a great pot roast is cooking it low and slow.  


I served the roast with some mashed potatoes.  I used the drippings from the roast to make a gravy by thickening it with a little flour.  I've found the best way to make a flavorful and smooth gravy is reserve a few tablespoons of the drippings and mix it with the flour or cornstarch first and then add that mixture to the rest of your drippings.


For dessert, I had some leftover homemade cream cheese frosting, so I figured the best thing to make would be a cake.  I made a white cake and I added a box of coconut cream pudding and shredded coconut to.  I frosted it with the cream cheese frosting.  I toasted some shredded coconut and sprinkled it on top of the cake for a little garnish.


This was a great, classic, simple meal and a great way to say farewell to Oregon.  My current plan is to maintain my blog while I'm in school.  There should be plenty of new things for me to experiment with and to learn how perfect.  Keep following if you'd like to see me embark on this next great adventure of culinary school.  Happy cooking and there's more fun with food to come!

Monday, January 16, 2012

Good Friends and Good Food

Today's kitchen adventure was quite the experience, not only because I made a couple of new recipes, but also because I was in a kitchen that was not my own.  For the past week, I have been visiting friends in Utah.  I've been staying with my friend Angie and her roommate Sarah.  During my chaotic departure from Oregon, I forgot to grab a little something small as a thank you to them for allowing me to crash at their house for a whole week.  I figured making dinner for them would be a nice way to say thank you and give me a chance to try out some new recipes.  Our dinner tonight consisted of my current favorite meat, pork tenderloin with a cherry sauce, my first attempt at risotto with spinach, mushrooms, and peas and a previously attempted crumble recipe, but with a twist.


I've had risotto a few times and I really enjoy it, but I've always been a little apprehensive to make it.  I watch a lot of cooking shows and cooking competitions and it always appears that risotto causes many of the PROFESSIONAL chefs participating in these competitions many problems.  I decided it was time to toss my fears and apprehensions aside and give it a shot.  I food a really easy recipe from the foodnetwork.com.  I did quite a bit of tweaking to the recipe, but it turned out marvelously.  I started out sautéing some chopped onions and fresh mushrooms in olive oil.  If I had had some fresh garlic, I would have also added that to the mushrooms and onions.  Then I added the arborio rice and then slowly started adding hot chicken broth to the mixture, remembering to continually stir until the liquid was completely absorbed.  Once the consistency of the rice begins to appear creamy and the rice is tender, I added frozen peas and baby spinach.  I continued to stir until the spinach was slightly wilted.  I seasoned throughout the process with salt, pepper and garlic powder and added in some fresh grated parmesan cheese.  The result was a deliciously, cheesy, and creamy risotto.


The pork tenderloin was simply seasoned with thyme, salt, and pepper.  The cherry sauce had cherry jam, red wine vinegar, brown sugar, some cinnamon and allspice.  The vinegar was very present, but overall it was a great accompaniment to the pork.


Dessert was a twist on the pear cranberry gingersnap crumble that I made for my non traditional Thanksgiving dinner.  I looked for fresh cranberries, but they must something that is only sold seasonally, like in October/November/December.  I was trying to think of a good replacement fruit that would still bring the tartness of the cranberry and taste ok with the gingersnaps.  I decided on raspberries.  I loved this recipe with the cranberries, but I think I enjoyed almost as much, if not more, with the raspberries.  The lemon zest and lemon juice that are in it complement the raspberries so nicely.


Stay tuned for more fun experiments in the kitchen.  Happy Cooking!